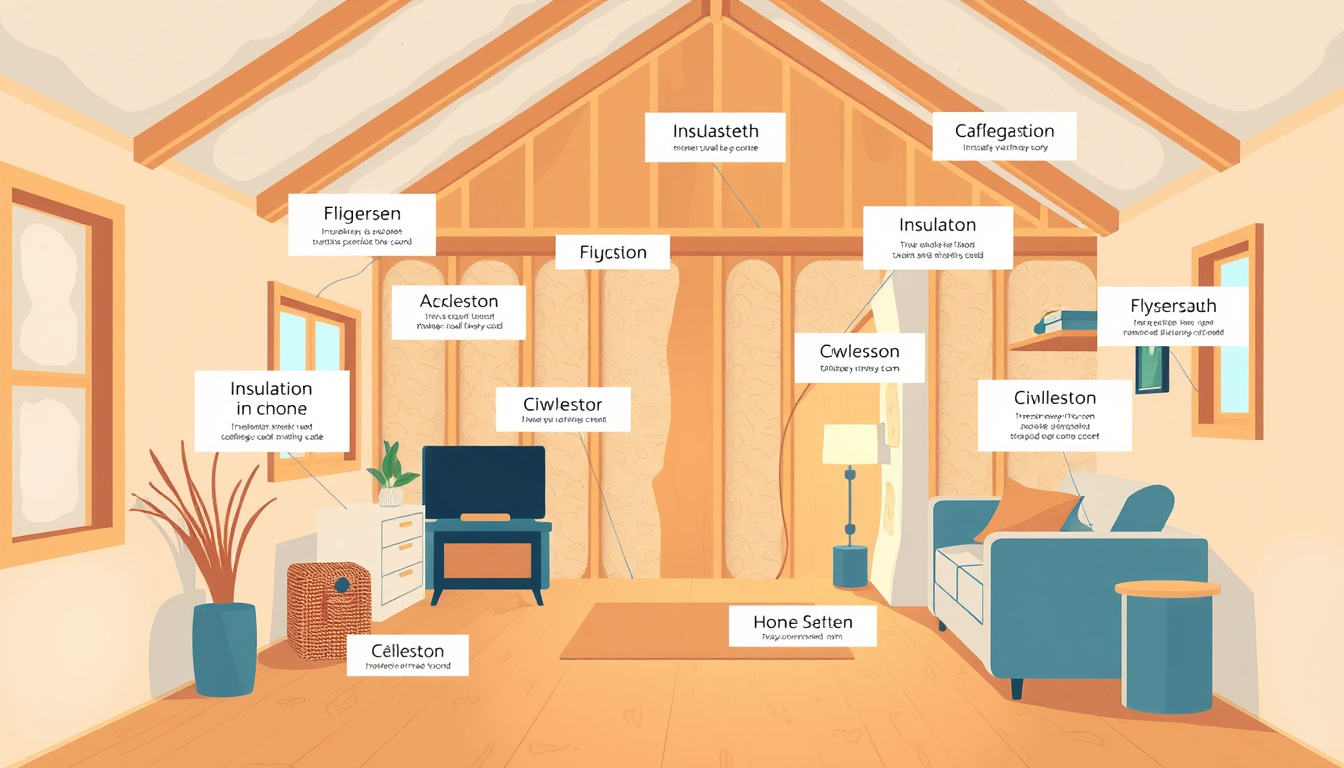
Proper insulation installation is a crucial step for any homeowner looking to enhance comfort, improve energy efficiency, and reduce utility bills. This guide will cover everything you need to know about insulation installation, from understanding different types of materials to detailed installation techniques and tips.
Why Insulation is Essential
Insulation plays a vital role in maintaining a comfortable indoor environment, keeping your home warm during winter and cool in summer. Here are some key benefits:
- Energy Efficiency: Well-installed insulation can reduce heating and cooling costs by up to 15%, as it minimizes the transfer of heat between your home’s interior and the outside.
- Soundproofing: Insulation acts as a sound barrier, muffling external noise and contributing to a quieter home.
- Mold Prevention: Insulation can control humidity levels and diminish the risk of mold and mildew growth.
- Improved Air Quality: By reducing air leaks, insulation keeps out dust and allergens, promoting better indoor air quality.
Types of Insulation Materials
Choosing the right insulation material is pivotal for effective thermal performance. Here are some popular options:
-
Fiberglass Batts: Commonly used for their cost-effectiveness, fiberglass batts are pre-cut panels that fit between wall studs. They are easy to install and suitable for most typical constructions.
-
Spray Foam Insulation: Ideal for irregular spaces, spray foam is applied as a liquid that expands to fill gaps. It provides an airtight seal and superior insulation properties, making it a preferred choice for many.
-
Cellulose Insulation: An eco-friendly option made from recycled paper, cellulose is often used in retrofitting applications. It’s blown into cavities and can easily fill irregularities, making it effective for insulating existing walls.
-
Blown-In Insulation: This type is great for attics or hard-to-reach spaces. It’s typically composed of cellulose or fiberglass and requires special equipment to install.

Preparation for Installation
Before beginning installation, gather necessary tools and materials, such as:
- Caulk gun
- Insulation (your chosen type)
- Safety gear (gloves, glasses, dust mask)
- Staple gun and staples
- Straightedge or 2×4 board
- Tape measure and utility knife
- Vapor barrier (if required)
Key Steps in Insulation Installation
-
Measure and Calculate: Accurate measurements are critical. Measure the dimensions of the area you plan to insulate, adding a little extra to account for waste.
-
Prepare the Space: Remove any existing insulation that is damaged or moldy. Ensure the area is clean and dry to guarantee the new insulation will perform well.
-
Seal Gaps: Before installing insulation, seal any air gaps or cracks around windows, doors, and other fixtures using caulk or expanding foam. This step is vital to prevent air leaks that can undermine insulation effectiveness.
-
Install Insulation:
- Batt and Roll Insulation: Fit the batts snugly between studs or joists, cutting them to size with a utility knife. Keep the paper facing towards the warm side of the home for a vapor barrier.
- Spray Foam Insulation: Apply evenly to fill gaps and cracks, allowing it to expand and set for the time specified by the manufacturer.
- Blown-In Insulation: Use the necessary equipment to distribute the material evenly across the insulation area, ensuring no voids are left.
-
Add Vapor Barriers: In colder climates, install a vapor barrier to prevent condensation build-up, which can lead to mold.
-
Check and Seal Electrical and Plumbing: Ensure that insulation does not compress around wires and pipes. Use foam pipe insulation for added protection against temperature fluctuations.
-
Inspect for Safety: After installation, ensure that insulation is not in contact with heat-generating elements, like flues or light fixtures, to prevent fire hazards.
Maintenance and When to Seek Help
Regular inspections of your insulation are essential. Look for signs of settling, moisture damage, or pest activity. If you notice drafts, increased energy bills, or other inefficiencies, consider upgrading your insulation.
Professional help may be necessary if:
- Your home has complex wall structures.
- Large-scale projects exceed your comfort level.
- You encounter hazardous materials, such as asbestos.
Conclusion
Insulation installation is an investment in comfort and efficiency. By understanding the types of insulation available, preparing adequately, and following installation guidelines, you can significantly enhance your home’s performance. Whether you choose to DIY or hire a professional, the rewards of a well-insulated home are well worth the effort.