Popcorn ceilings, a popular home design choice in the mid-20th century, are slowly falling out of favor as homeowners seek cleaner, more contemporary designs. Not only do these ceilings collect dust and make rooms feel dated, but they can also contain asbestos if installed before 1978. If you’re considering removing that textured ceiling, this guide outlines safe practices, essential tools, and tips for achieving a smooth finish.
Understanding Popcorn Ceilings
Originally, popcorn ceilings were installed for various reasons, including sound dampening, hiding imperfections, and creating a cozy ambiance. However, as design preferences have evolved, many view them as unsightly and impractical. Understanding the removal process can help you decide if this DIY project is right for you.
Safety First: Asbestos Testing
Before diving into removal, it’s crucial to determine whether your popcorn ceiling contains asbestos, especially if it was installed before 1978. Obtain an asbestos testing kit from your local hardware store or contact a professional for assistance. If asbestos is present, it’s best to hire an abatement contractor. If your ceiling is clear, you can proceed with removal.
Essential Tools and Materials
Gather the following tools and materials to ensure a smooth removal process:
- Protective Gear: Safety goggles, dust mask or respirator
- Drop Cloths/Tarps: To catch debris and protect your furniture
- Manual Tools: Paint scraper, utility knife, putty knife
- Moisture Sprayer: A hand pump sprayer filled with water
- Sponge and Bucket: For surface cleaning
- Joint Compound and Spackle: For ceiling repairs after removal
- Sandpaper: To smooth any rough edges
- Ceiling Paint: For the final coat after repairs

Step-by-Step Removal Process
1. Prepare the Room
Clear the area of furniture and cover the floors and walls with drop cloths. Ensure you tape up all seams securely to prevent debris from escaping.
2. Wet the Ceiling
Using the moisture sprayer, lightly spray the popcorn ceiling in sections (about 5×5 feet at a time) until it’s damp but not dripping. This step helps to loosen the popcorn texture for easier removal.
3. Scrape the Popcorn Off
Using a paint scraper, hold it at a low angle relative to the ceiling and begin to gently scrape away the popcorn texture. Work slowly and methodically, adding more water as needed to facilitate the scraping without damaging the underlying drywall.
4. Clean Up the Mess
As you scrape, debris will fall onto your tarps. Ensure to bundle up the dead popcorn and dispose of it securely. Vigorously clean your space to remove any leftover dust or particles.
5. Repair the Ceiling
Inspect the drywall for any damage post-scraping. Fill in any holes or cracks with joint compound and allow it to dry completely. Once dry, sand the area smooth.
6. Prime and Paint
After repairing, apply a primer suitable for ceilings, especially if you’re transitioning from a darker to lighter color. Once the primer is dry, apply at least one coat of ceiling paint for a fresh, clean look.
7. Finishing Touches
Reinstall any light fixtures or ceiling fans you removed prior to starting the project. Check the edges where the ceiling meets the wall, sealing any gaps with silicone caulk for a polished finish.
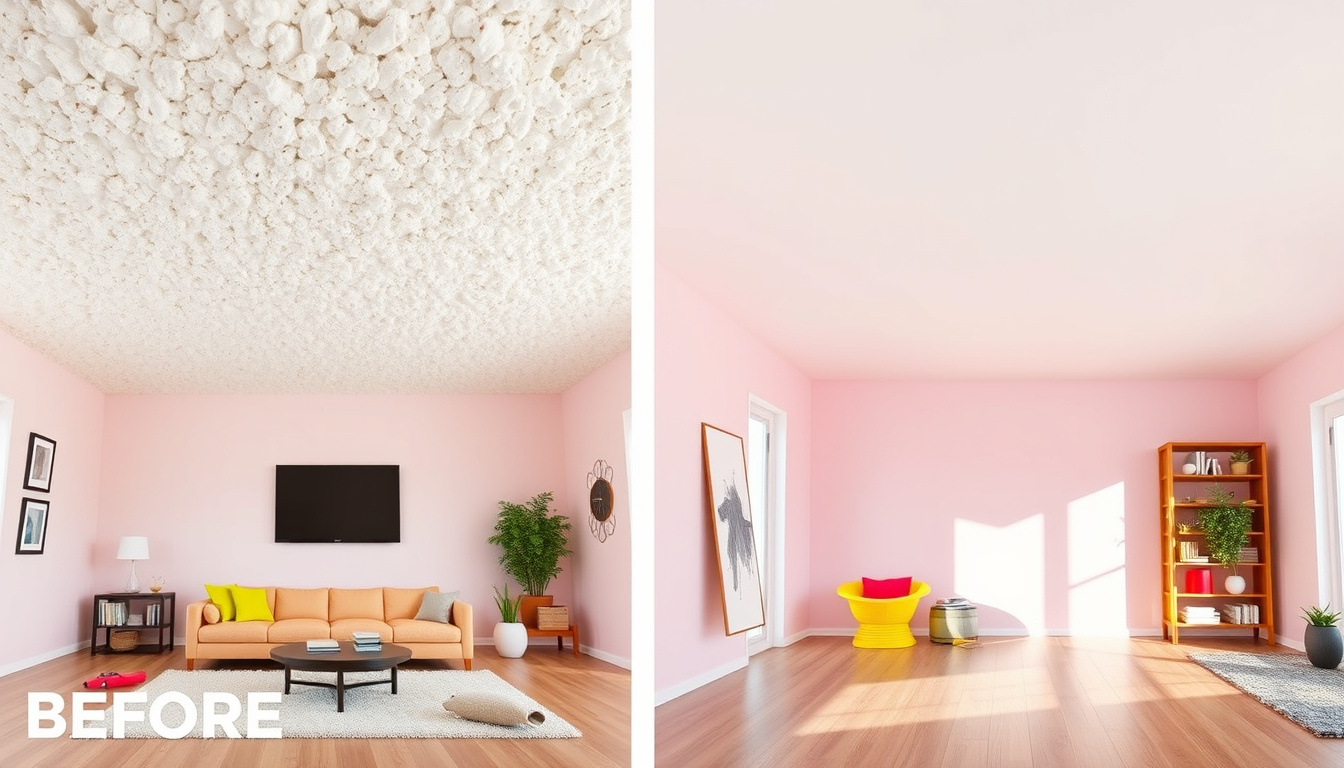
Conclusion
Removing popcorn ceilings can drastically transform the look and feel of your home, making rooms appear larger and brighter. While the process may be labor-intensive, the satisfaction of unveiling a smooth, modern ceiling is well worth the effort. Remember to take all necessary safety precautions, and don’t hesitate to ask a friend for help if the job feels too daunting. With a little time and patience, you can say goodbye to popcorn ceilings for good, ushering in a fresh, contemporary vibe to your living spaces.